Why pay for iCloud when you’ve got your own personal iCloud at home?!
Subscriptions will be the death of our civilization. Imagine not being able to ‘own’ something because a company only allows you to rent it. You don’t own the movies you pay for on Netflix, you don’t own the music you pay for on Spotify, and you can’t own storage on the cloud because even though you’re buying 500GB worth of space, you’re merely renting the space on a cloud server somewhere. This strange arrangement has led to the rise of personal NAS (Network-Attached Storage) devices, with people choosing to simply BUILD their own cloud storage devices instead of paying Apple, Google, or Microsoft for them. The advantages of a NAS are many – you don’t need to pay monthly fees, your cloud-drive is private to you so you don’t have to worry about Google or Apple getting hacked and your data getting leaked, but most importantly, you can store and access files on your NAS from anywhere. Use it to take phone or laptop backups, to store/watch videos, or even build your own music/movie streaming library as the ultimate cord-cutting move!
Designer:
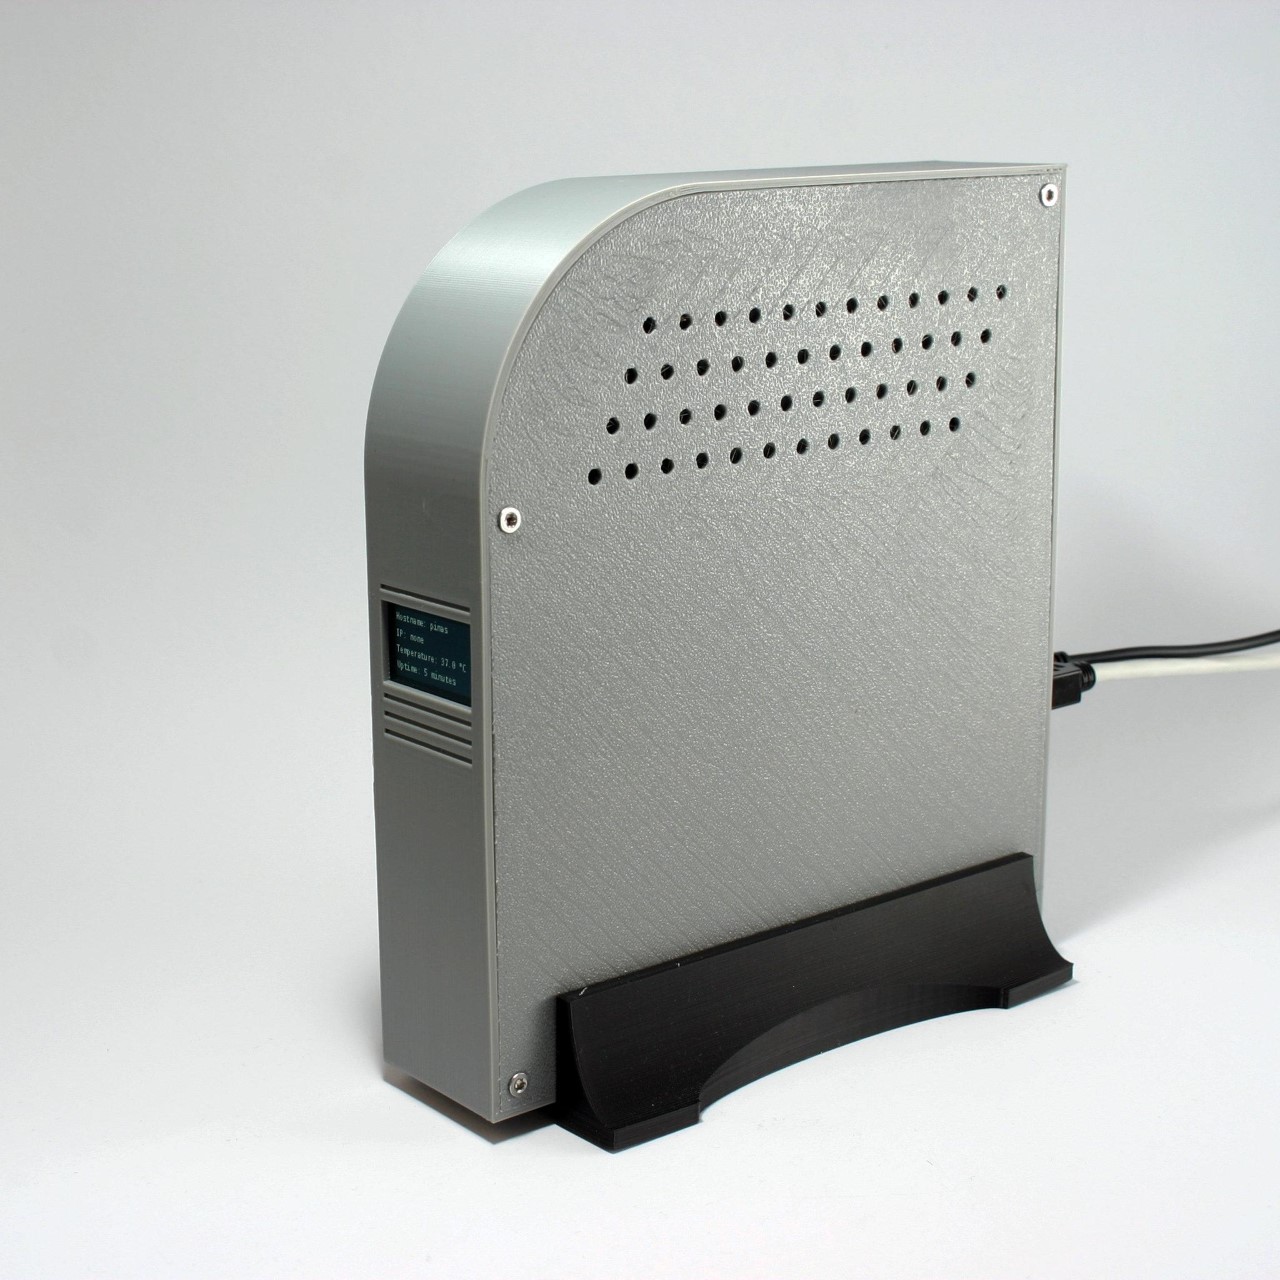
If you’re looking to buy a NAS, there are quite a few out there, but if you want to try building your own, DIY-maker Frank Bernhardt managed to put together one using a Raspberry Pi 4 module, a few extra components, and a 3D-printed enclosure. His entire process is up on for anyone to see and make, although you’ll definitely require some technical knowledge to get the software up and running.
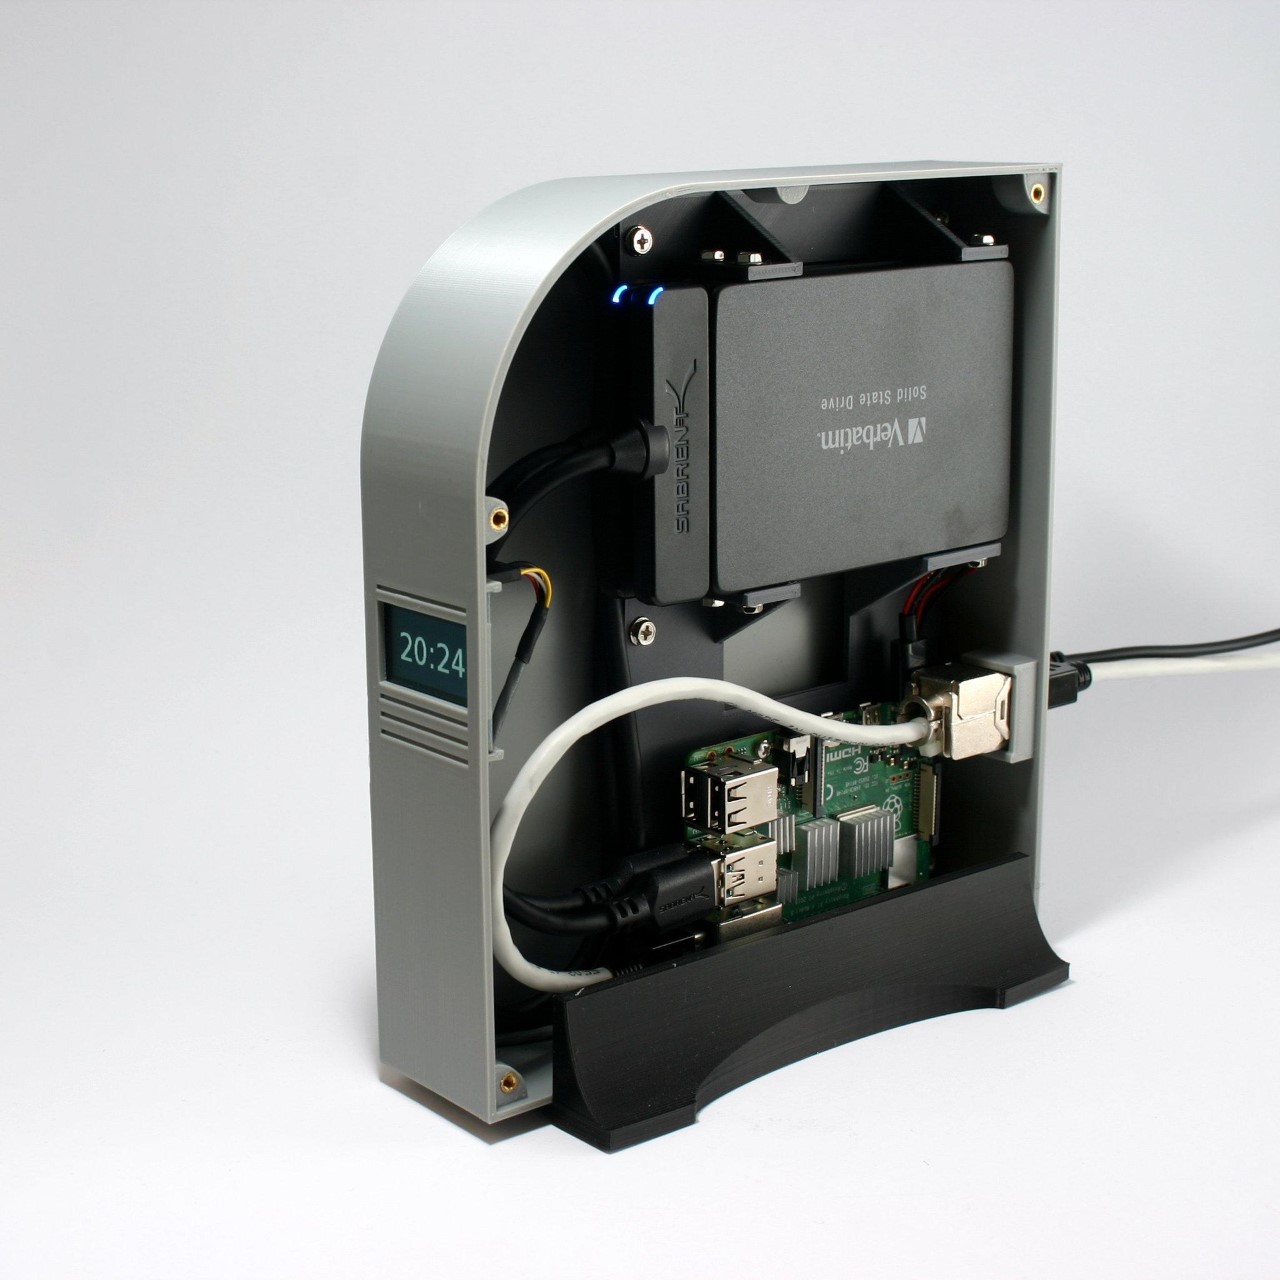
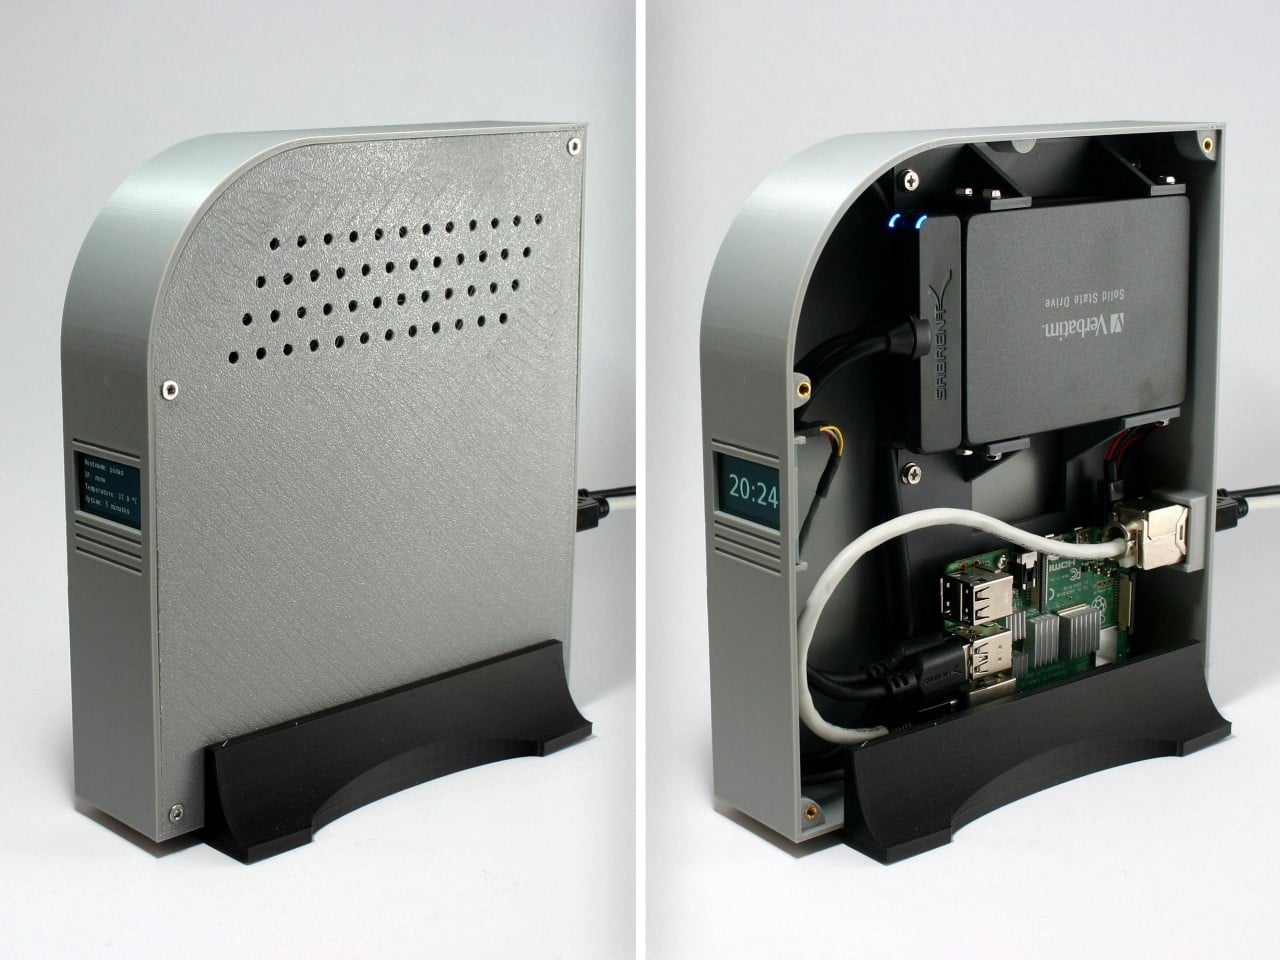
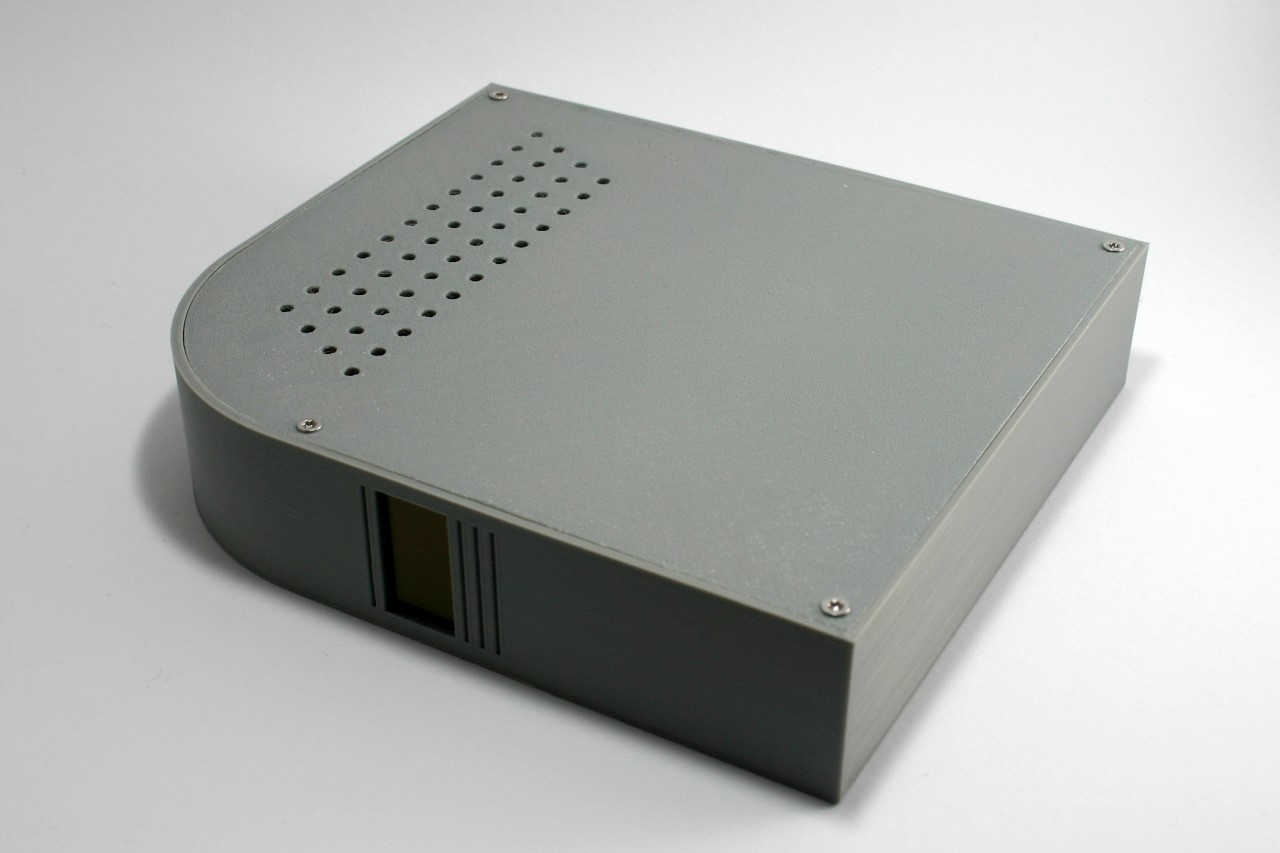
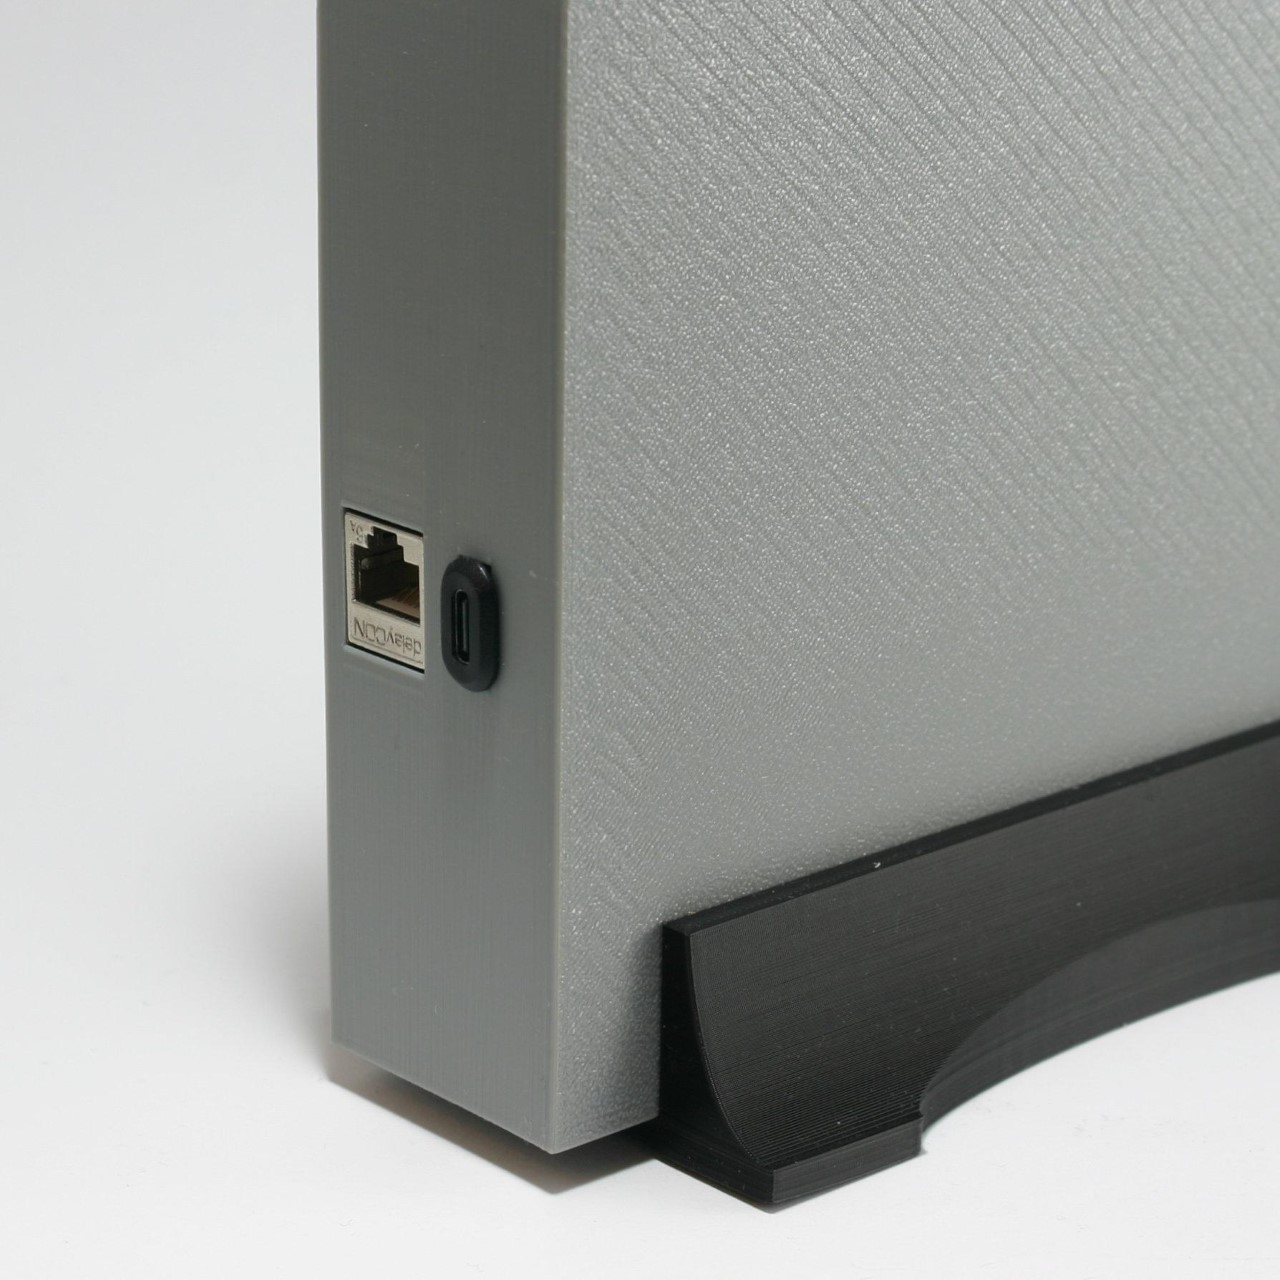
Bernhardt’s NAS runs on a Pi4 module, connected to an SSD. The entire enclosure’s printed out of plastic, with metal inserts to screw the NAS together. Instead of simple status LEDs, Bernhardt even put a functional screen on the front that displays messages and the time of day when sitting idle.
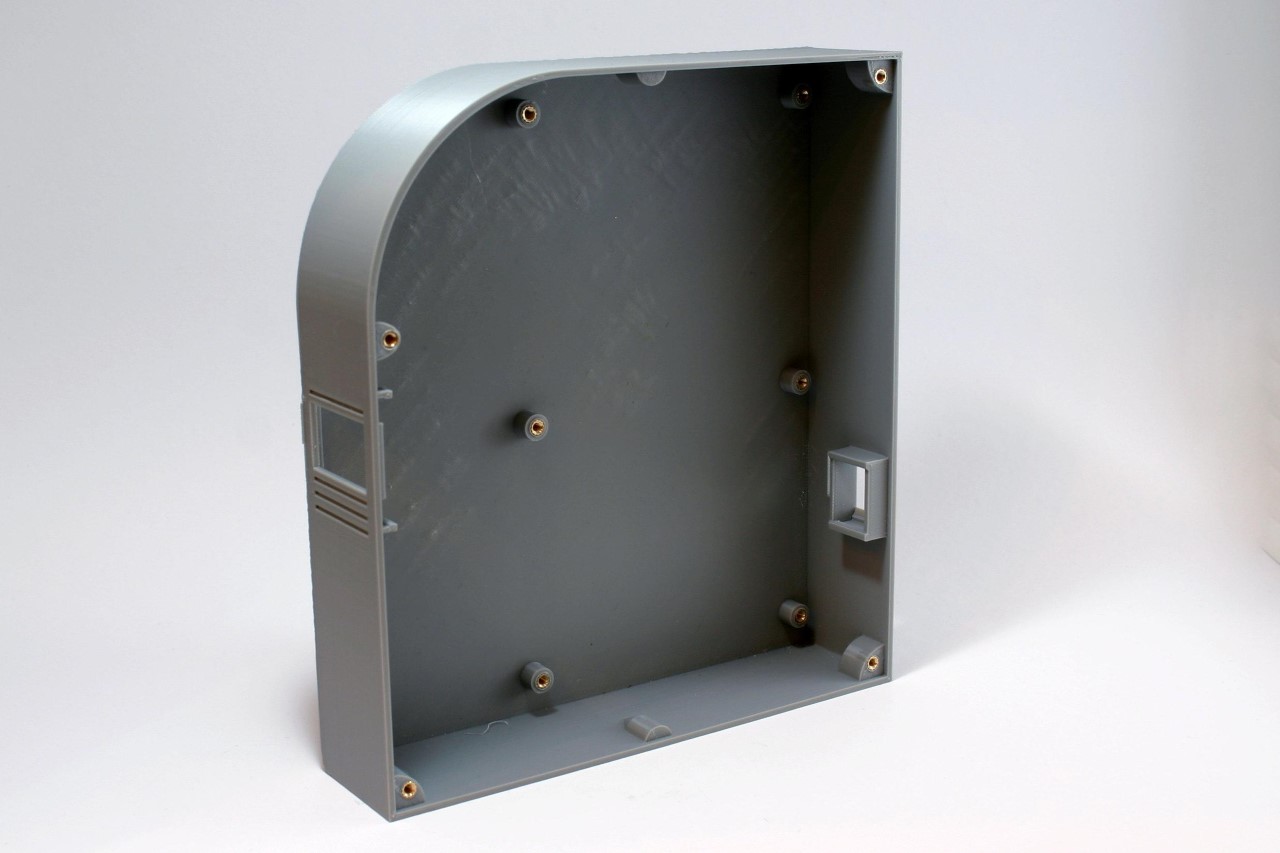
One of the primary considerations in this project is the design of the enclosure. The enclosure needed to meet several specifications: it should allow access to the power and network connectors from the rear while keeping the USB connectors inside for a clean aesthetic. The use of melt-in brass threaded inserts ensured durability, and the compact size made it printable on a standard 200 x 200 mm 3D printer bed. The design avoids the common 90-degree offset for connectors typical in Raspberry Pi cases, streamlining cable management. Moreover, the enclosure does not require active cooling, reducing noise and making it suitable for SSDs.
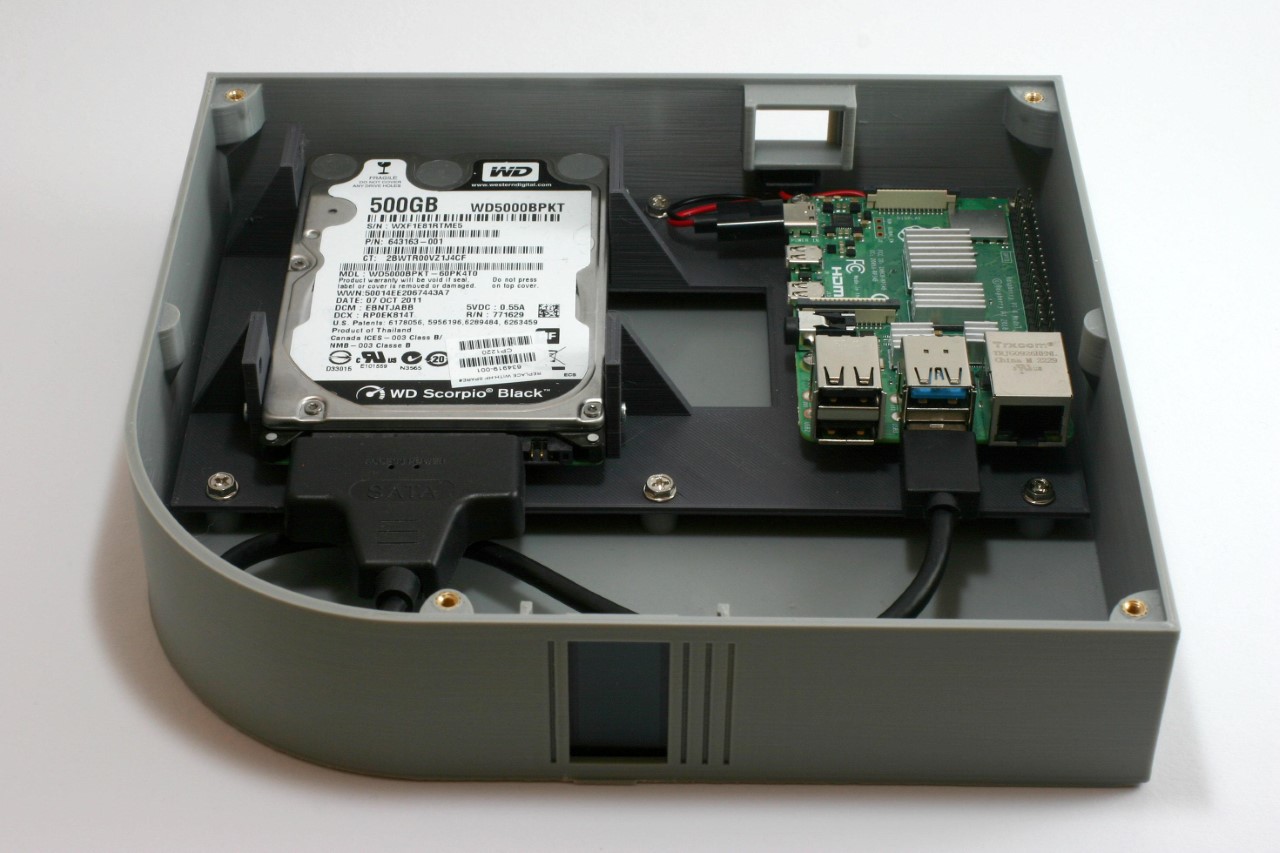
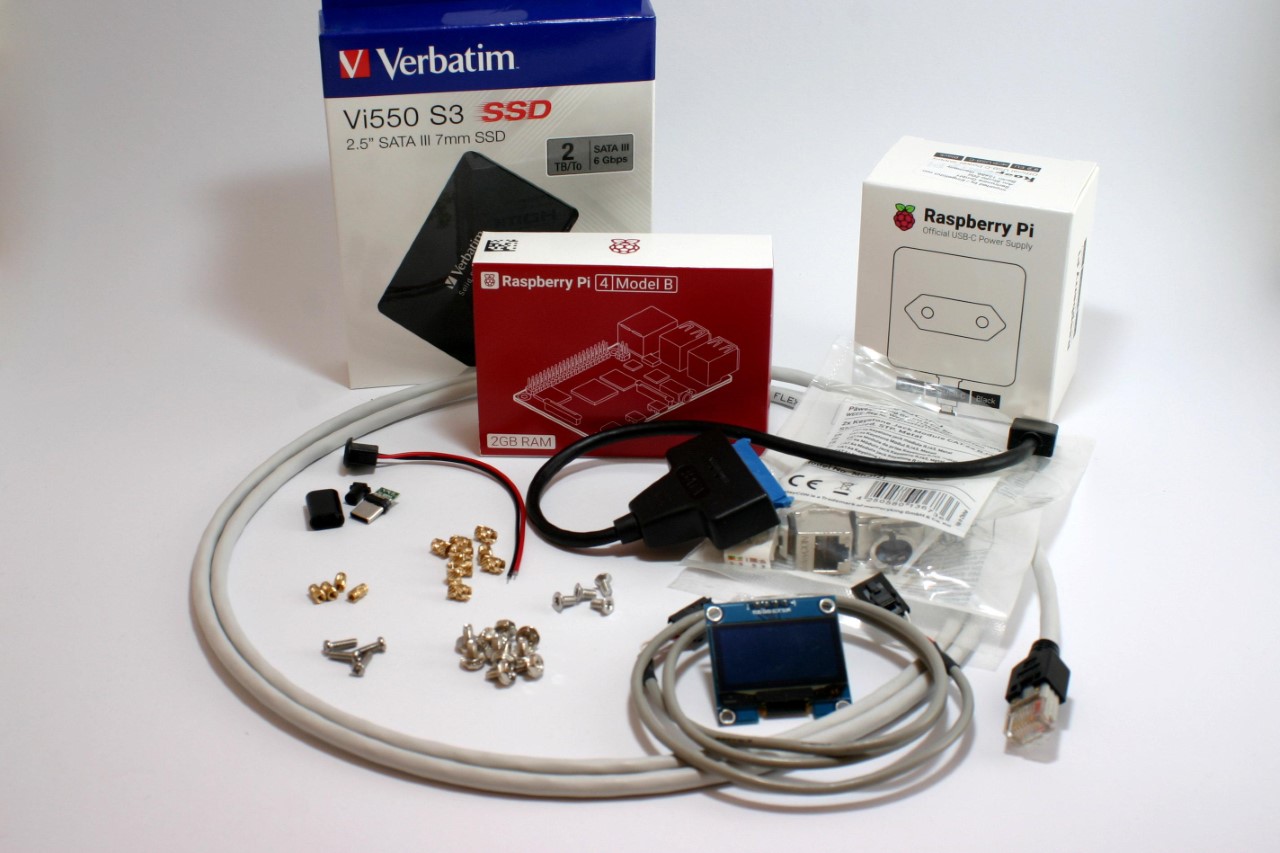
Here are the materials and components used in the entire build:
Devices for computing and storage
- Raspberry Pi 4 or 5 with power supply, 2GB RAM is sufficient
- 32 GB micro SD card, SanDisk Extreme PRO recommended
- One or two 2.5″ SATA hard disk drives, SSD recommended
- One or two USB 3.0 to SATA adapter(s), Sabrent adapter(s) recommended
Software
- Raspberry Pi Operating System Image (Pi OS Lite, 64-bit no desktop)
- NAS Software for Raspberry Pi OS, openmediavault recommended
Component parts
- 10 x M3 brass threaded inserts
- 10 x M3x5 screws (4 more for the second hard disk drive)
- 4 x M2.5 brass threaded inserts
- 4 x M2,5×6 screws
- 4 x M3x6 countersunk head screws
- 1 x Keystone module RJ45 Cat 6
- 1 x RJ45 Cat 6 patch cable (length or color doesn’t matter)
- 1 x USB type C male connector plug to solder
- 1 x USB type C female connector jack 2 pin with wire
- 1 x SH1106 1.3″ OLED module I2C 128X64 4 pin
- 1 x 4-pin cable with Dupont female connectors, either self-made or ready-made
- Some PLA filament for your printer with the colors you prefer.
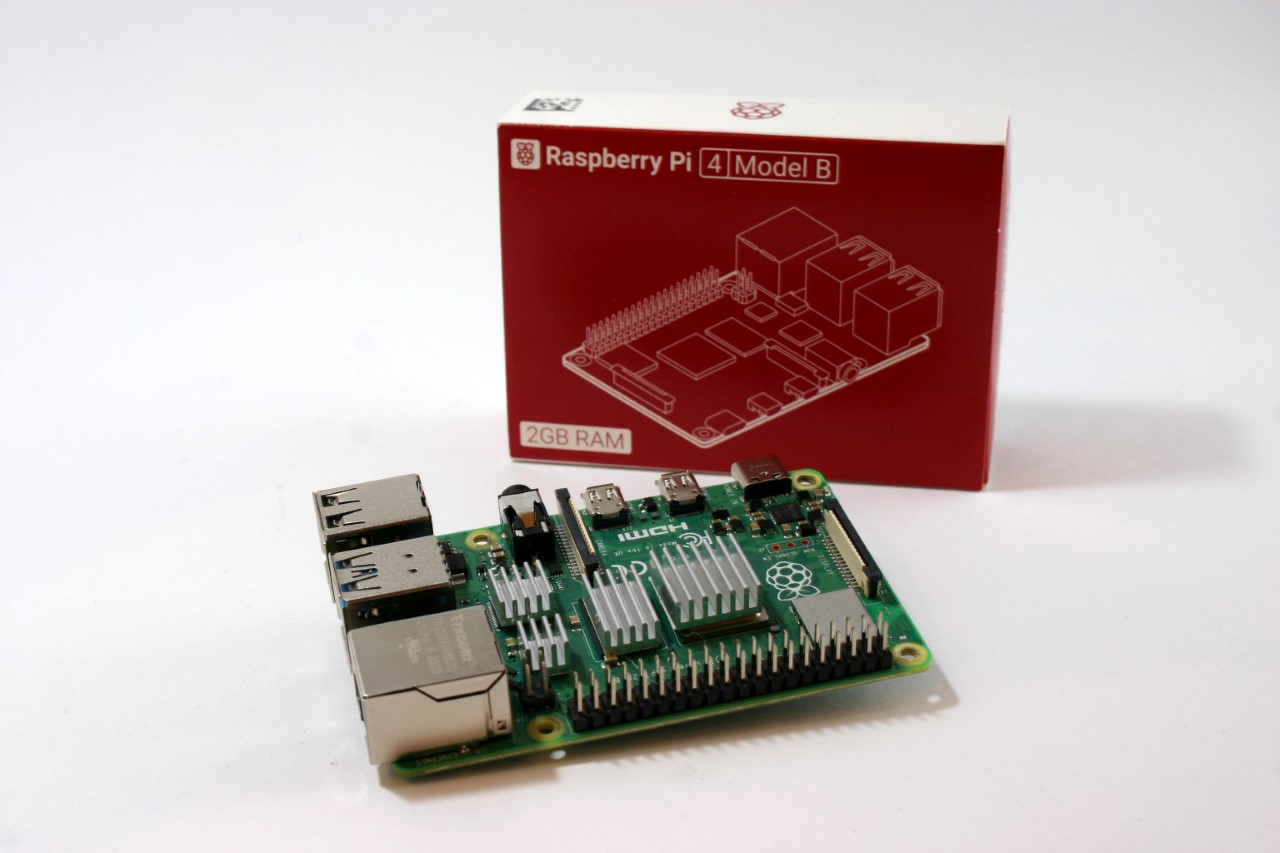
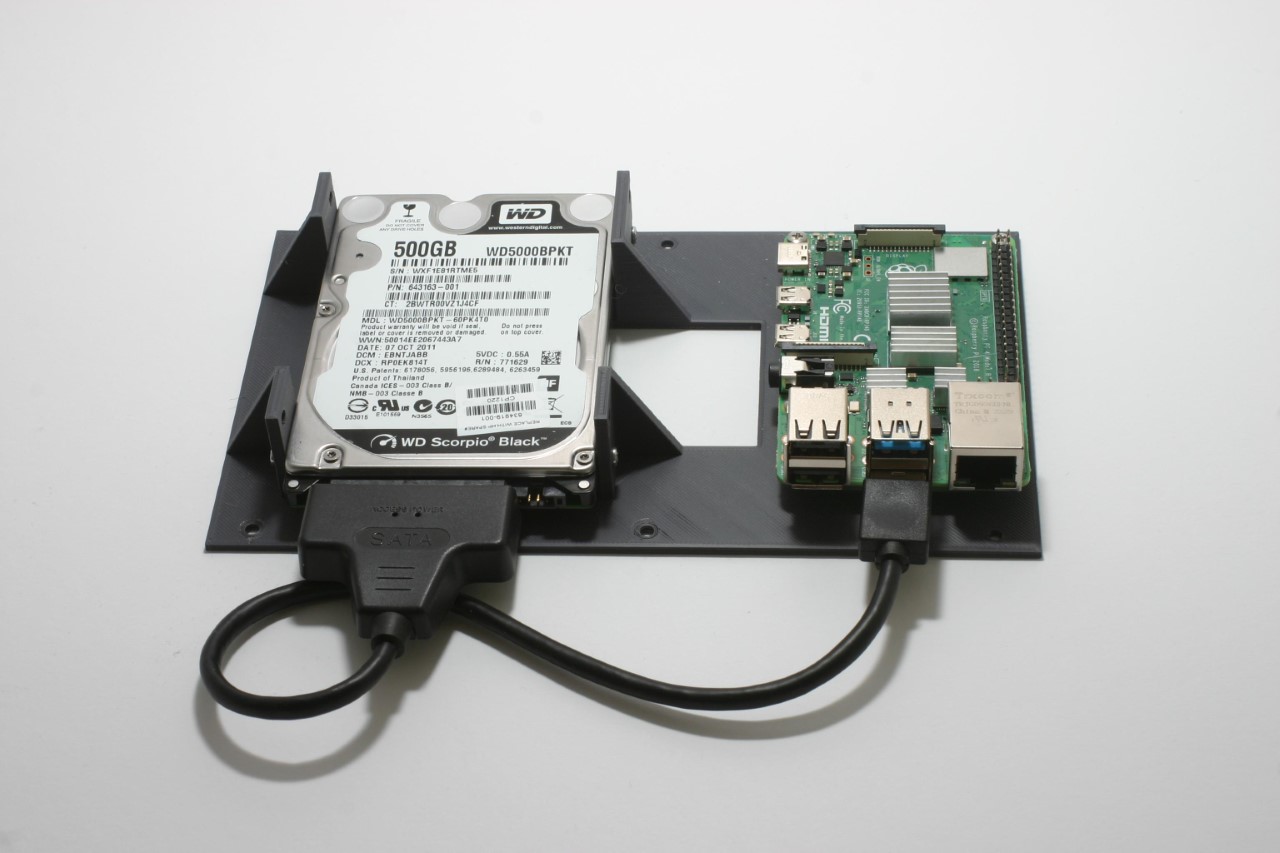
Printing the enclosure involved creating four main parts: the tray, device rack, side lid, and an optional stand. The tray required support structures for the connector openings and display window, which can be generated using slicing software. The rack holds the Raspberry Pi and hard drives, ensuring that the components are securely mounted. The assembly of the rack with the Raspberry Pi and hard drives necessitated precision, particularly when melting the brass threaded inserts using a soldering iron.
The next phase involved setting up the Raspberry Pi OS and configuring the network. Using the Raspberry Pi Imager, Bernhardt installed Raspberry Pi OS Lite (64-bit) onto a micro SD card. Essential settings such as hostname, username, password, and SSH enablement were configured during this process. Assigning a static IP address to the NAS ensured consistent network access, either through the Raspberry Pi OS, openmediavault, or a DHCP server, with a provision for regular patches and security updates
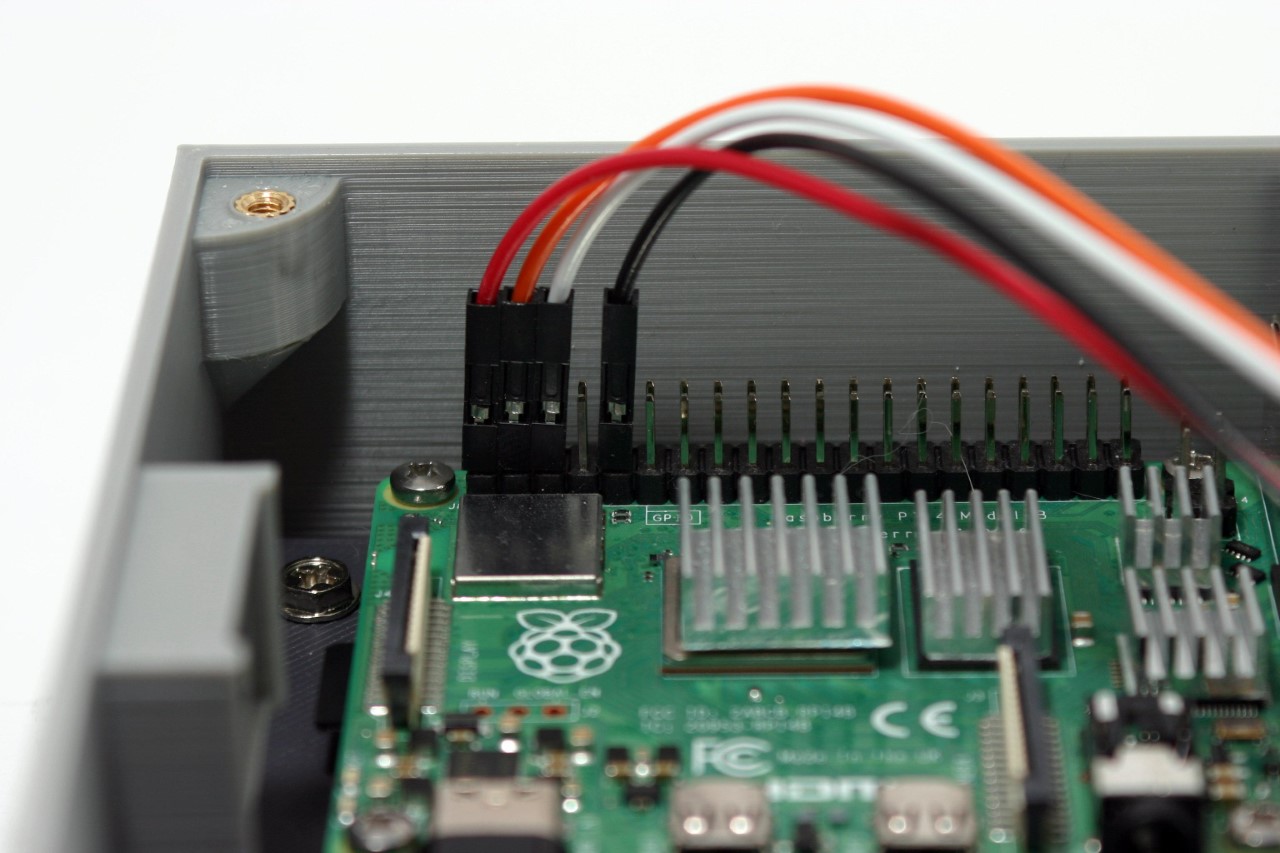
After the software setup, attention shifted back to hardware. The USB-C power connection and OLED display installation were critical steps. The USB-C socket was soldered inside the enclosure due to space constraints. The OLED display, used for status updates, was delicate and had to be installed without bending. Properly connecting the display to the GPIO pins of the Raspberry Pi was essential, ensuring to match the pin configurations correctly.
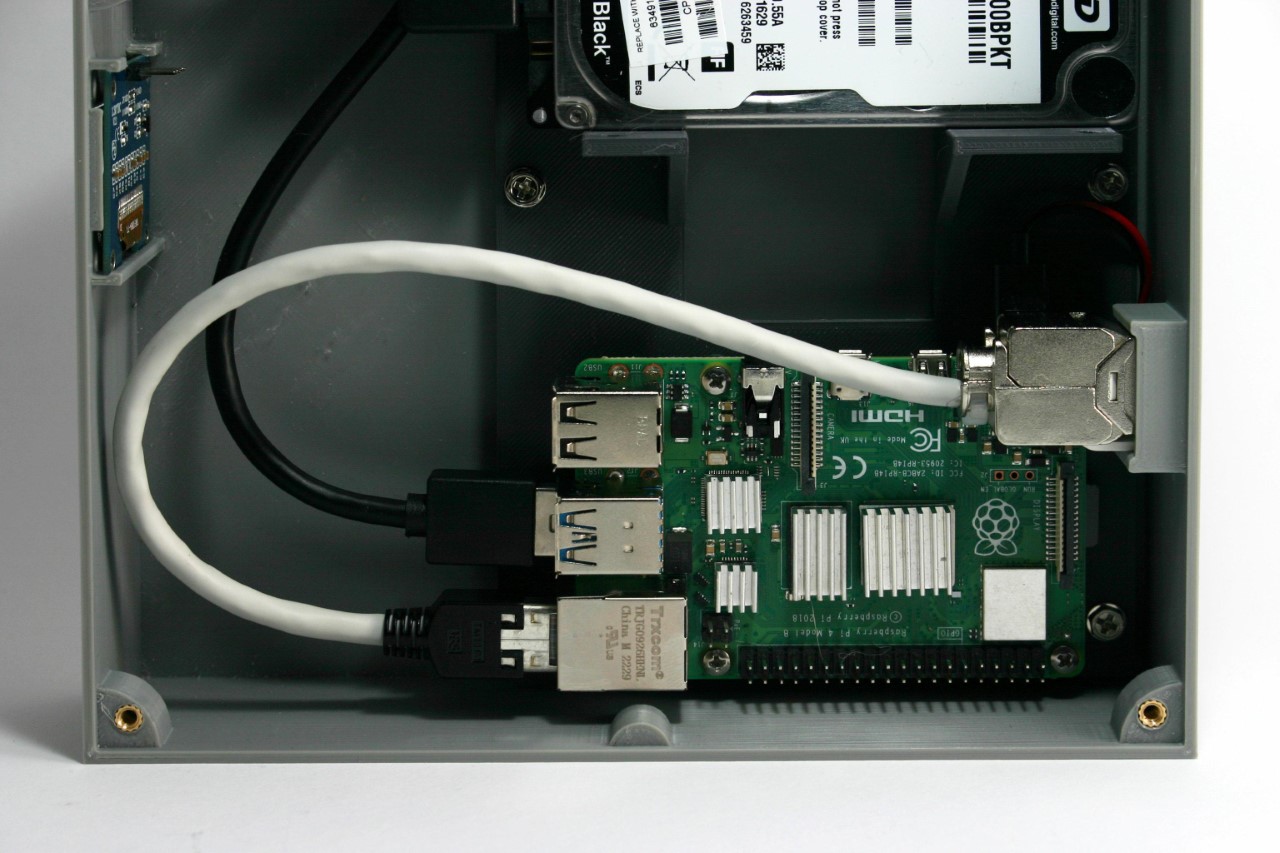
For the network connection, a keystone module simplified connectivity and future upgrades. By attaching a patch cable and keystone module inside the enclosure, the LAN port became easily accessible, accommodating both Raspberry Pi 4 and 5 models. This modular approach facilitates easy maintenance and upgrades, ensuring the longevity of the NAS setup.
Once the hardware assembly was complete, the OLED display software was installed. A Python script displays various system metrics on the OLED screen. The script runs at startup, continuously updating the display. Finally, the NAS software, openmediavault, was installed. This software provides a user-friendly web interface for managing the NAS, making it accessible and easy to configure. The installation was straightforward, and upon completion, the NAS was ready for use, with a commendable 500GB of storage.
Bernhardt’s Raspberry Pi NAS required a fair bit of technical expertise, but the process worked out MUCH cheaper than spending hundreds on a readymade NAS. If you’re looking for a nice summer project for yourself, you can build your own Raspberry Pi NAS too by following .
The post first appeared on .
Related Posts