IKEA PAX wardrobe offers lots of storage in this tall entryway cabinet
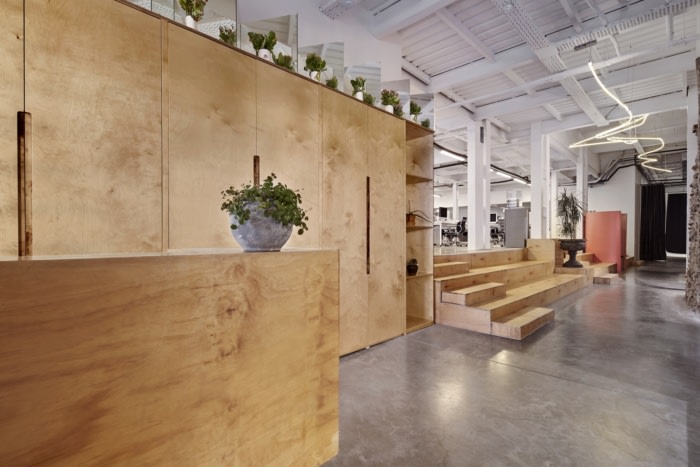
We needed to create storage in a high traffic, oddly shaped back entryway. The entrance is visible from our open concept dining room and kitchen so we wanted it to look clean and finished and to match the décor. The PAX cabinet was going to be the centre of our storage on the left side of the space. This left a triangular shaped space on the right where we would have custom open shelves.
IKEA items used:
- , White, 39 3/8×22 7/8×92 7/8
- , white, 19 1/2×90 3/8
- KOMPLEMENT Shelf, Wire Baskets, Clothes Rail
Other materials and tools:
- 2×3 pine wood – for framing
- 1/4” MDF board – for paneling
- 5/8 MDF board – for shelving
- Construction screws – for framing
- Construction adhesive (PL3000) – for gluing paneling
- Satin or Semi-gloss paint, small roller and brush
- Caulking – to fill in gaps for finished look
- Power Driver, Adjustable clamps, Circular Saw
How We Hacked our Tall Entryway Storage Cabinet
Install the assembled PAX Wardrobe into the left side of the empty space. Screwed the back and left side of the wardrobe to walls.

Build and install a 2×3 wood frame between the top of the wardrobe and our 9.5’ high ceiling. Build and install a 2×3 frame at the bottom as well so the first custom shelf would line up with the bottom of wardrobe.

Cut and screw the MDF board to the wood frames at top and bottom. Painted these board in place.
Cut out 1/4” MDF board to form a rectangular design with 15” wide panels as shown in pictures. 6 panels would cover the 90” tall door. The panelling should align across both doors. Paint all the panels to before assembly. Glue panels to front of each door. Then install doors onto wardrobe.

Cut and glue in place the 5/8” MDF board into custom triangular shaped shelves. Each shelf had 2 sides with the horizontal section sitting on top. These 5 shelves sections were stacked on top of each other for easier assembly. The back of the shelf was open to the wall. Ensure all the shelves fit well. Then paint all the panels to before assembly.


For assembly, start at the bottom. Glue bottom shelf to lower frame. Then glue the sides of the shelf directly to the wardrobe frame on left and the wall on right. Then, glue the next horizontal shelf to the top of these side pieces. Repeat for each shelf until you reach the top. The very top section should be positioned and glued at the same time as the top side pieces. Each shelf section was approximately 15” or 30” high to match the door panels. We used clamps to hold panels in place.
Lastly, glue the remaining panels to top, bottom and right sides of the wall and frame to compete the panelled look of the entry way.
Additional comments:
I would call this a medium difficulty . There were a lot of panels to cut but all the work was completed with a with straight wood pieces and clamps as guides. We left the custom shelves intentionally long and assembled without gluing first so we could mark and cut them to the right size (walls and frames are never straight). Caulking and touch up paint to fill in the gaps helps a lot. We used a small roller to paint the MDF panels with a reasonably good finish.
~ by S. Chong
The post appeared first on .
Related Posts