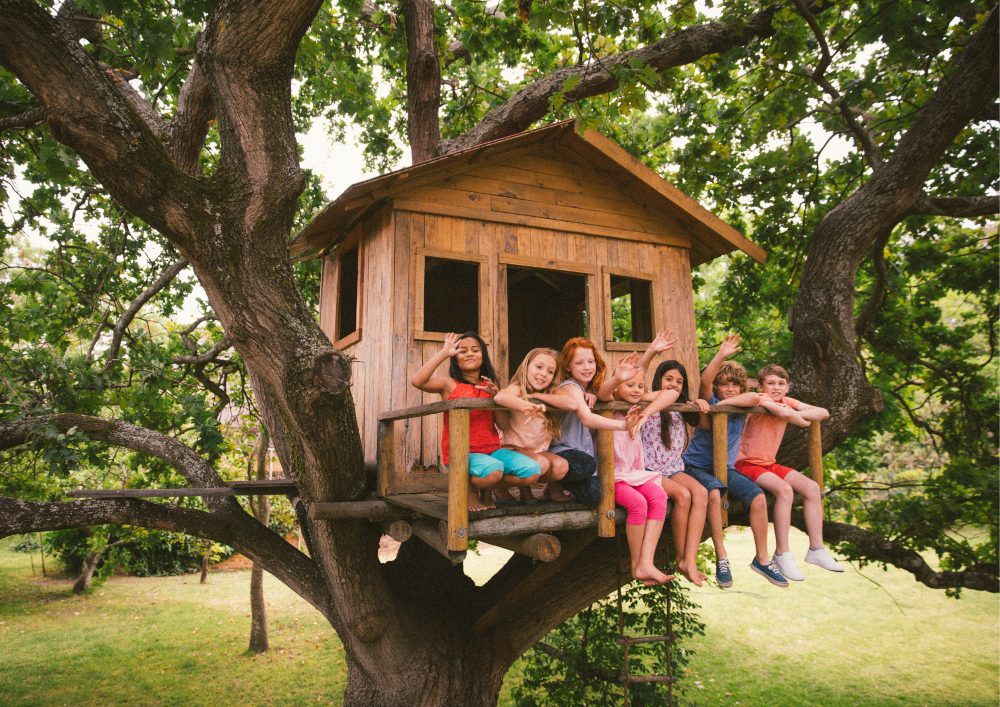
Building a treehouse is like crafting a family heirloom. It’s not just wood and nails; it’s a canvas for childhood memories and a peaceful escape for adults. Imagine the laughter, the quiet moments, and the adventures that await in your backyard retreat.
This guide is your toolbox for turning that dream into a reality. We’ll guide you step-by-step, from the early planning to hanging up the curtains in your finished treehouse. Safety and thoughtful planning are our top priorities to ensure your treehouse is beautiful, safe, and enduring.
Prep Stage
Before you grab your hammer, the prep stage lays the groundwork for the entire project. This is where you’ll decide on the tree, square away legalities, and draw up your battle plans. Being meticulous now will pay off later, making the building process smooth and ensuring your treehouse stands the test of time.
Find the Right Tree
Finding the perfect tree is like choosing the foundation for your family’s dream home in the sky. It sets the stage for everything that follows. Opt for a sturdy, mature tree like an oak or maple, which are reliable and can bear the weight of your new retreat. Your chosen tree should have a robust trunk, at least 12 inches in diameter, and branches that look like they’ve been doing pull-ups at the gym.
Don’t ignore the health of your tree. Signs like off-colour leaves or crumbling bark are red flags, signalling disease or weakness. This isn’t just a tree; it’s a safety pillar for your family. It’s also important to think about where your tree is located. Does it offer a great view, some natural shade, or a quick path back to the kitchen for snacks? Just ensure you’re not too close to power lines or other hazards.
Talking to a local arborist isn’t overkill; it’s smart planning. They can confirm if your chosen tree is a good match for your project and offer expert guidance. Ultimately, the right tree won’t just hold up your treehouse; it’ll become part of your family’s story.
Check Local Building Codes
Before starting construction, checking with your local municipality about building codes and permits is crucial. Ignoring this step could lead to fines or even dismantling your finished treehouse.
Building codes can vary, but common requirements may involve height restrictions, distance from property lines, or specific structural guidelines. Sometimes, a site inspection is needed. If a permit is required, submit your treehouse plans well before your build date.
Plan Your Treehouse Design
Designing is where you plot out those parts that make your treehouse uniquely yours. Start simple with the size, shape, and whether you want extras like windows or a balcony. Consider your tree’s shape and size so your design feels like an extension of the tree, not an add-on.
After your rough sketch, make a detailed blueprint. The sketch isn’t just a drawing; it’s your game plan. It will guide you through the construction and help you build your shopping list. Don’t get carried away with elaborate designs. Often, it’s the simple treehouses that pack the most magic.
Have the Necessary Tools
Make sure you have the right equipment before considering building a treehouse. Basic carpentry tools like hammers, saws, levels, and power drills are essential. Depending on your design, specialized hardware like lag screws, anchors, and pulleys could also be needed.
It’s not just about having the right tools; it’s also crucial to know how to use them safely. A well-organized toolbox saves time and helps you maintain focus on the task at hand, ensuring a smoother build process from start to finish.
Consider power tools such as a which is lightweight and has an ergonomic grip. This type of tool makes it easier and safer to build your treehouse.
Consider the Tree Growth
One often overlooked aspect of building a treehouse is the future growth of the tree. Trees can grow outward and upward, affecting the structure over time. Consult with an arborist to understand how your selected tree species grows. Plan some wiggle room around the trunk and branches to accommodate this growth.
Some building techniques allow for adjustable supports, which can be altered as the tree grows. Neglecting to plan for growth could result in the tree damaging your treehouse, or vice versa, down the line.
Building the Base
With a well-chosen tree and a detailed plan, it’s time to start building the base of your . This phase is the backbone of your project. A strong, level base ensures the rest of the construction goes smoothly and safely.
Set the Platform Close to the Base
Positioning the platform close to the tree’s base creates a more stable structure. It reduces the lever arm effect, which could otherwise put excessive stress on the tree and the fixings. Ideally, your platform should be no more than 6 to 10 feet off the ground.
Make sure to measure the height accurately, considering the tree’s contours. Temporary support can help hold the platform in place while you secure it. Double-check the level before moving on to the next step, as a sloping platform can compromise the entire structure.
Attach the Support Beams
The support beams will hold your treehouse aloft, so they need to be attached securely. Use lag screws to fix the beams to the tree trunk, ensuring they are level and evenly spaced. The type of screw and size should align with the weight your treehouse will ultimately bear.
Pre-drilling holes for the screws to prevent wood splitting is a good idea. Once the beams are in place, double-check their stability by applying weight. If they hold firm, you’ve created a solid foundation for your treehouse to come.
Level the Base with Additional Beams
Once your main support beams are securely attached to the tree, levelling the base is next. Even if the main beams appear level at first glance, it’s wise to double-check using a carpenter’s level. If you find any discrepancies, additional shafts or shims can help correct them.
These additional pieces should be as sturdy as your main beams, ensuring uniform strength across the base. Secure them well, and re-check the level. A perfectly horizontal base is vital for the safety and longevity of your treehouse.
Install the Floorboard
After levelling the base, you can move on to installing the floorboards. Choose a robust, weather-resistant wood like cedar or pressure-treated lumber for durability. Lay the boards perpendicular to the support beams for optimal strength.
Secure them with weather-resistant screws, spacing them about an eighth of an inch apart for drainage and wood expansion. As you install, consistently check that the boards are flush and level. Mistakes at this stage can create problems later, like uneven walls or an unsafe structure. Once the floorboards are down, your treehouse starts to feel real, setting the stage for walls and a roof.
Building the Walls and Roof
After laying a sturdy base, it’s time to give your treehouse walls and a roof. This phase will enclose the space, making it a cozy retreat. Attention to detail here ensures your treehouse is beautiful and resistant to elements like wind and rain.
Assemble Walls on the Ground
Building the walls on the ground before attaching them to the base can make the process easier and more accurate. Cut your lumber to the dimensions specified in your blueprint. Assemble each wall with screws or nails, using a square to ensure that corners are 90 degrees.
Leave space for doors and windows if they’re part of your design. Once the walls are assembled, applying an initial coat of paint or stain is advisable. Doing this now is easier than after they are installed.
Attach Walls to the Base
Once your walls are ready, it’s time to attach them to the treehouse base. Lift each wall into position, aligning them with your platform’s edges. Use heavy-duty screws to secure the walls to the floor and each other at the corners.
Double-check for any gaps or misalignments and correct them immediately. Proper attachment is critical for stability and ensuring that the rest of the construction progresses without issues.
Choose the Right Roof Style
The style of your roof can significantly impact your treehouse’s overall look and functionality. A simple pitched roof is often the easiest to construct and sheds rainwater effectively. Consider options like a gabled or hip roof if you want a more elaborate design.
Remember that your chosen style should suit the structural capabilities of your base and walls. Use sturdy, weather-resistant materials like treated lumber and metal or asphalt roofing sheets. Your choice here can affect how well the treehouse stands up to the elements, so choose wisely.
Install the Roofing Material
After deciding on the roof style, the next step is installing the roofing material. Whether using metal sheets, , or wooden planks, start by laying a solid roof deck. Attach this to the roof frame securely.
Then, layer your chosen material from the bottom upward, overlapping as needed to prevent leaks. Use roofing nails or screws designed for your specific material. Make sure the edges are well-sealed to avoid wind lifting the material.
Waterproofing and Insulation
A well-built treehouse deserves to be enjoyed in all kinds of weather. To make it weatherproof, focus on sealing gaps and adding insulation. Use a high-quality sealant to close small gaps where walls meet the roof, around windows, or at the floor level. For added protection, consider installing weatherstripping around doors and windows.
Insulation can be added to the walls and roof to help regulate temperature. Foam boards or rolls of fibreglass are commonly used for this purpose. Proper insulation keeps your treehouse comfortable and extends its lifespan by reducing wear and tear.
Add Safety Measures
Focusing on safety measures is crucial once the structural elements are in place. A treehouse should be a haven of fun and relaxation, not a source of worry. Installing the right safety features can protect kids and adults while using the space.
Install Secure Railings
The railing isn’t just a finishing touch; it’s a safety must-have. Choose strong materials like wood or metal. Make them at least three feet high to deter accidental falls. And pay attention to the gaps. They should be narrow enough to keep little explorers from slipping through.
Always use strong screws, and give the railing a good shake to ensure it’s secure. Remember, the railings will be used and abused by children. You want the railing to handle any rough play from your kids.
Add a Safe Entry and Exit
How you get in and out of your treehouse is part of your safety. Your entry and exit should be as secure as a vault. If you go for a ladder, look for one with wide steps to prevent slips. A staircase? Make sure it has handrails.
No matter what you choose, anchor it well and make inspecting it part of your regular upkeep. Safety doesn’t take a vacation, nor should you when checking your treehouse’s entry and exit points.
Test Structural Integrity
After your treehouse is built, test its structural integrity before it’s open for fun. Apply weight to different platform areas, walls, and even the railing to simulate the forces it will experience.
Listen for creaks, look for shifts, and make any necessary adjustments. Some people go the extra mile by consulting a structural engineer for an expert opinion, especially for larger treehouses.
Install Proper Lighting
Good lighting is key for safety, especially if you plan on using the treehouse in the evenings. Solar-powered LED lights are an eco-friendly choice and can be easily installed.
Running electrical wiring is an option for a more permanent solution, but a qualified electrician should do it to meet safety codes. Whichever option you choose, ensure that paths, steps, and the interior are well-lit to prevent trips and falls.
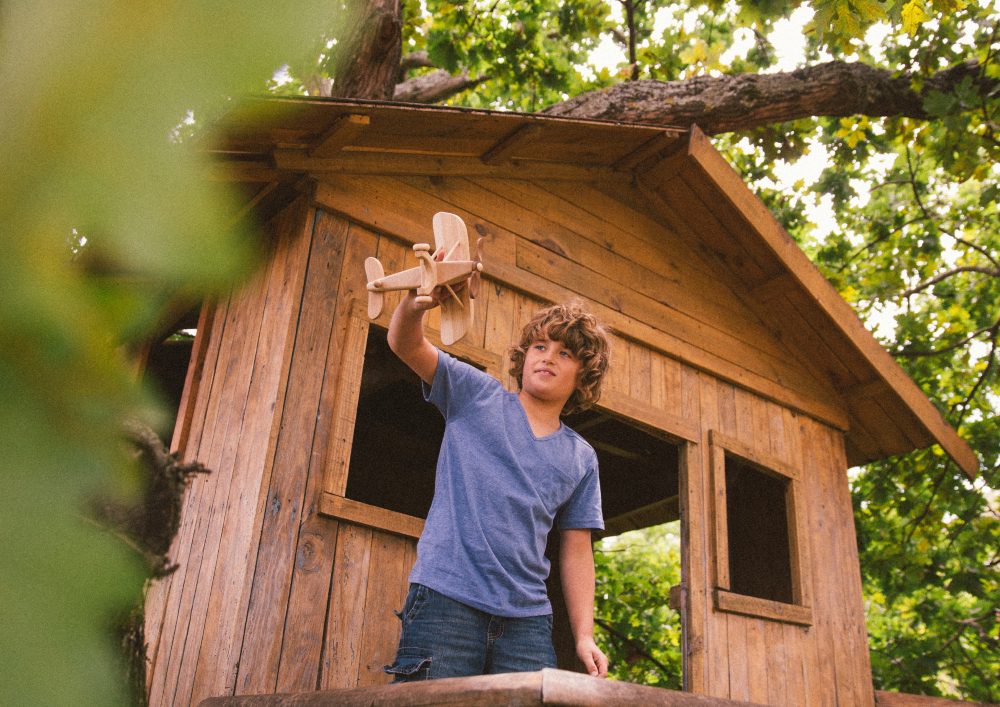
Decorating the Tree
Now that your treehouse is structurally sound and safe, it’s time for the fun part—decorating! Decorating your natural space is where you can let your creativity shine and make the space your own. From comfortable furnishings to personalized decor, the sky’s the limit.
Choose a Theme
Choosing a theme turns decorating into storytelling. It brings the walls of your treehouse to life, making it more than just a wooden structure. Whether you go for a pirate adventure or a nature sanctuary, your theme sets the mood.
Choose colours and designs that sync with your theme. This isn’t just decoration; it’s about creating an atmosphere that turns your treehouse into a world of its own.
Furnish for Comfort
When it comes to furniture, think comfort. This space is your home away from home for reading, napping, or simply daydreaming. Add bean bags, a hammock, or a mini-couch to make it cozy. Furniture is not just for sitting; it’s for making the treehouse a place you’d want to stay for hours.
Add Functional Storage
Efficient storage is key for keeping your treehouse uncluttered. Install shelves, hooks, or storage benches to hold books, games, or craft supplies.
Make sure these storage solutions are securely anchored to prevent accidents. They should also be easy to reach, especially for kids who will spend time in the space.
Create an Outdoor Play Area
Consider turning your treehouse into a play area if it has extra outdoor space. Simple additions like a sandbox, swing, or slide can provide hours of entertainment. These features should be as securely installed as the treehouse and regularly checked for wear and tear.
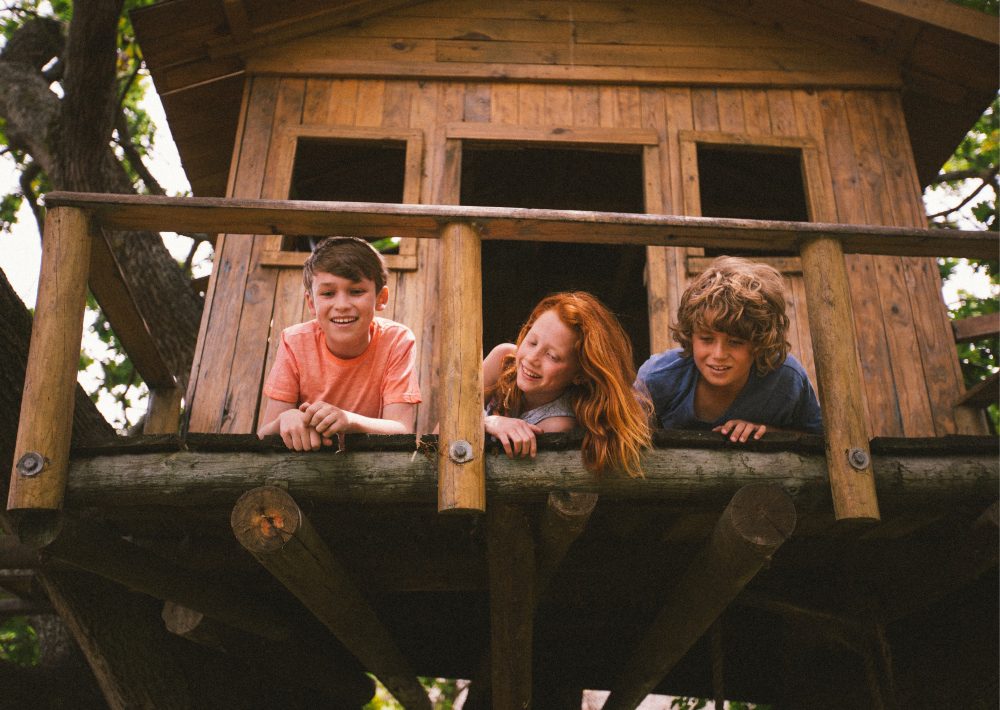
Conclusion
Building a treehouse is a milestone, a mix of skill, love, and imagination. As you add the final touches, take a moment to admire your work. With a focus on safety and quality, you’ve created something special. This treehouse is now a family treasure, set to make memories for years to come.
The post appeared first on .
Related Posts